I am opening a creative studio

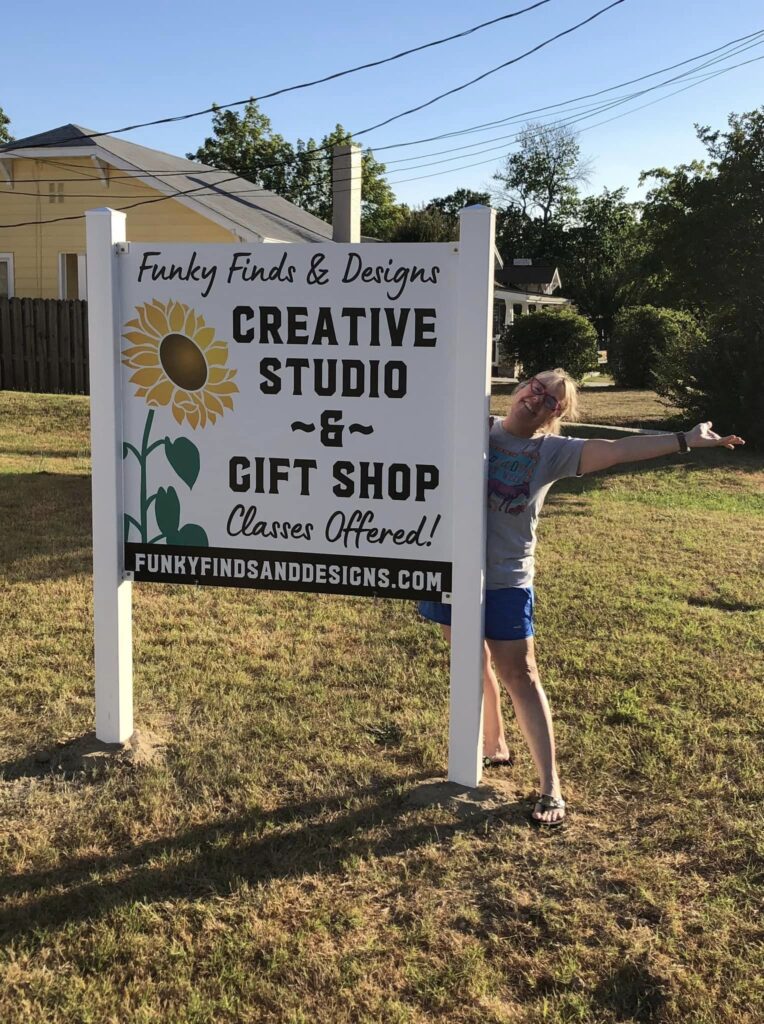
In the town that I live in there are some really cute little houses that hold several business. One is a boutique, one is a candle company, one an insurance office, and a hair salon. I told my sister one day if one of the houses came up for rent I should rent it.

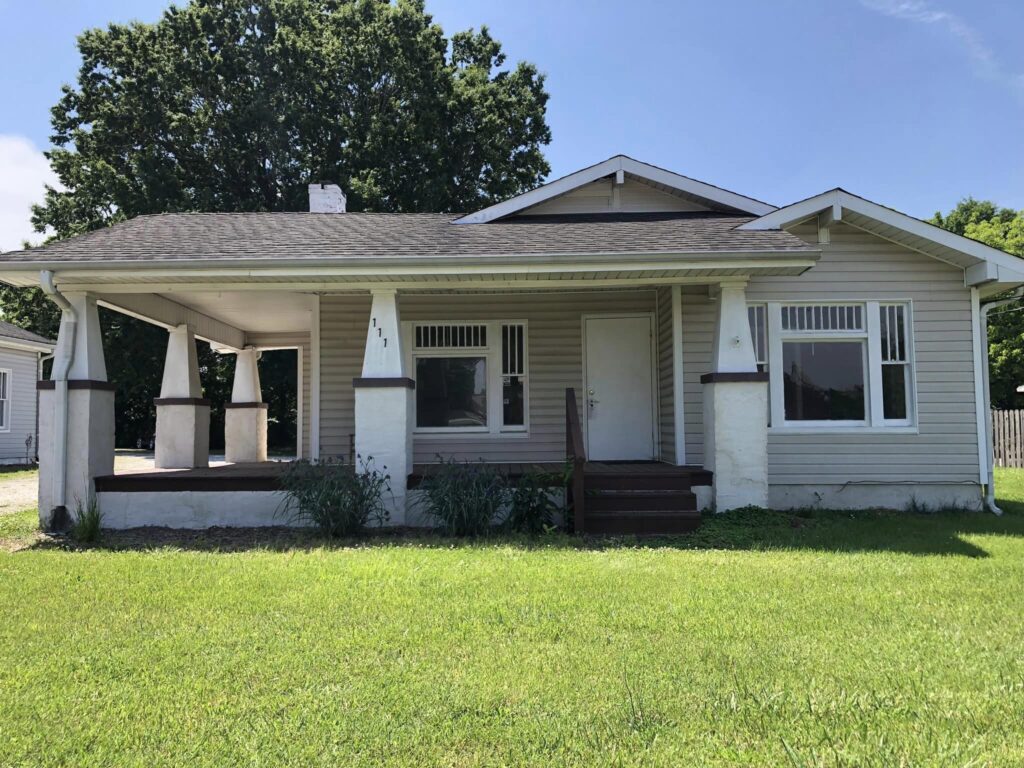
One day in May my sister and I were shopping at the Boutique next door and noticed that the house was empty. We asked about it and she told us who to see about it. We went strait to the realtor and got the keys to check it out. It had lots of space. I loved it. I thought about it over the Memorial Day Weekend and when Tuesday came around I was ready to sign the lease. What was I thinking?

Well the shop is about 2 miles from my house and 1 mile from my boyfriends house. Nice right? I pretty much take over a space that I live in with craft projects maybe having a dedicated space to create would help. My father who is almost 86 won’t be around forever so this will give me a place to go and be around other people. What if I one day move in with the boyfriend? I can’t take over his space with all my projects. Seems like a win win to me.

There is so much to do. I signed the lease, got power cut on, water and sewer with the city, got internet, had to get business insurance, order a sign to be made, work with the bank on a point to sale system. I don’t move very fast so things are taking awhile. Maybe I should say I have a focus problem and still try to do other random things.

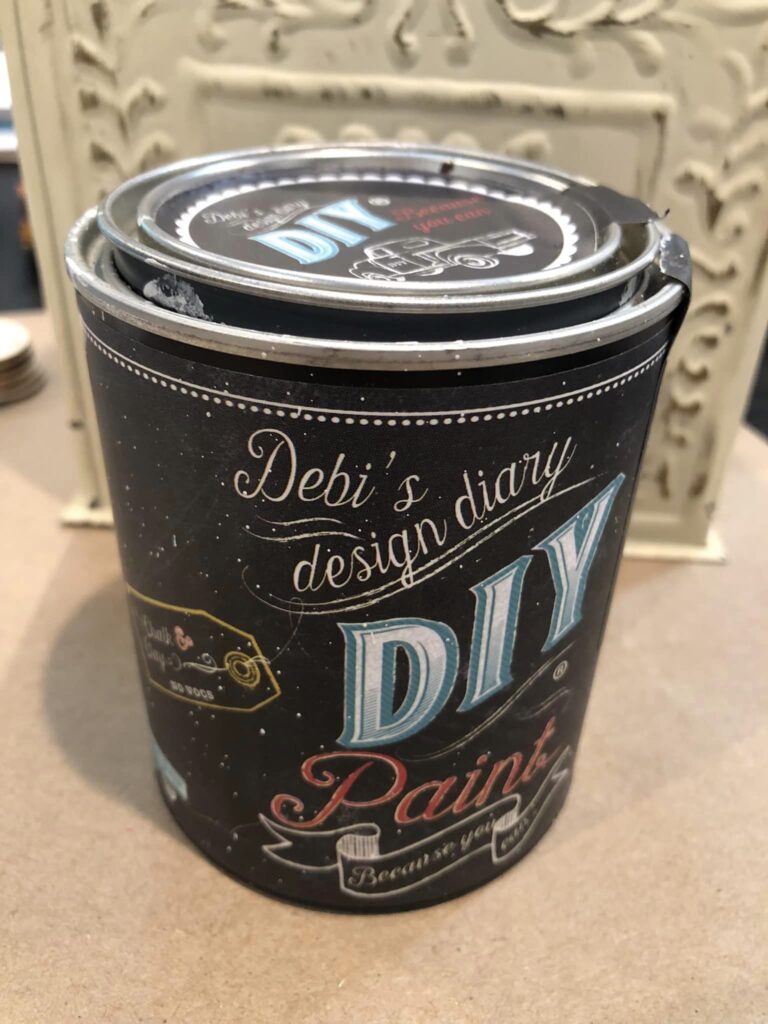
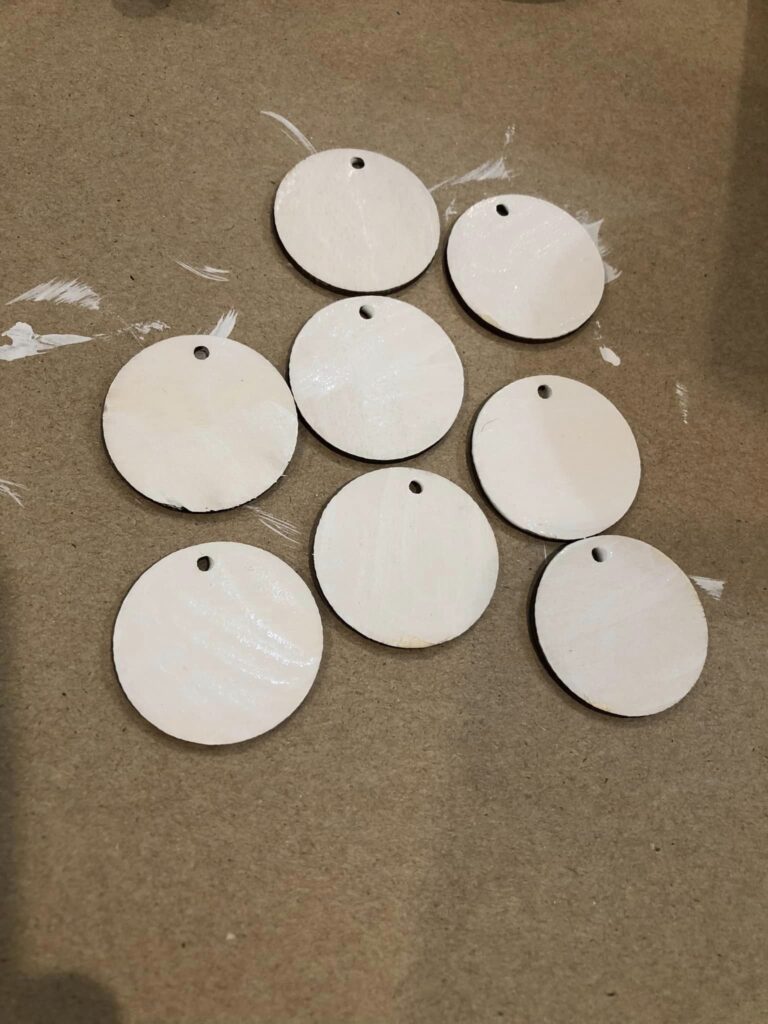
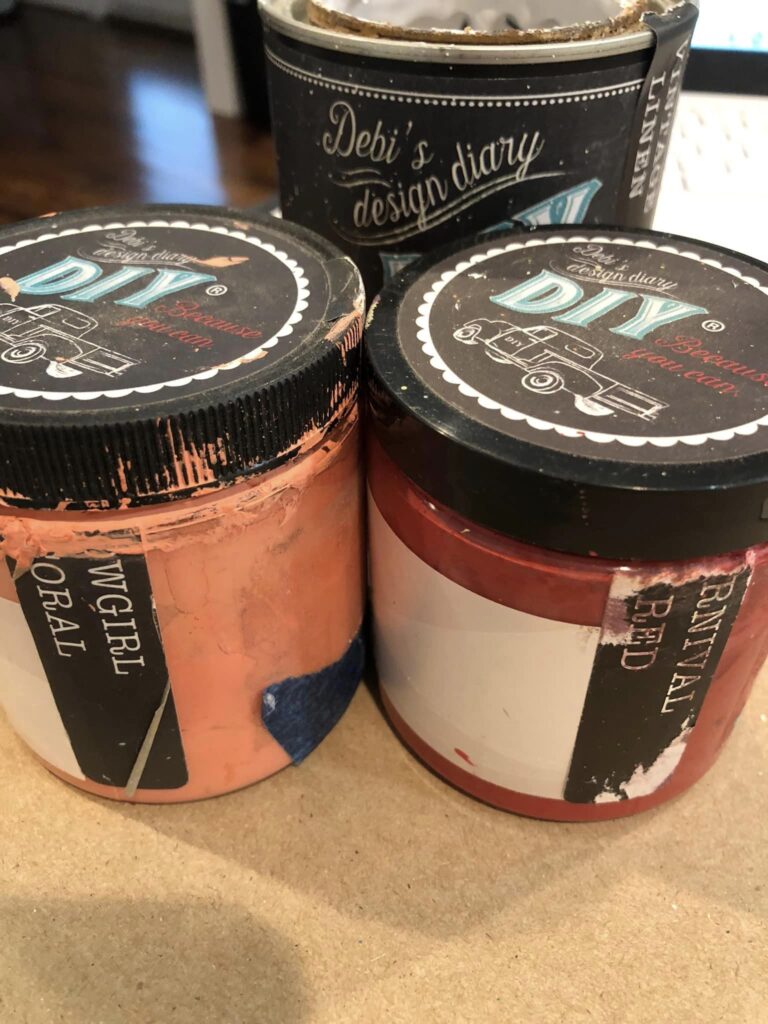
I have done some cleaning and some painting. I have gotten several tables and lots of chairs for the classes. I need to get over there and arrange all the rooms like I want them and start filling things in. The fire department has to come and inspect before I open.

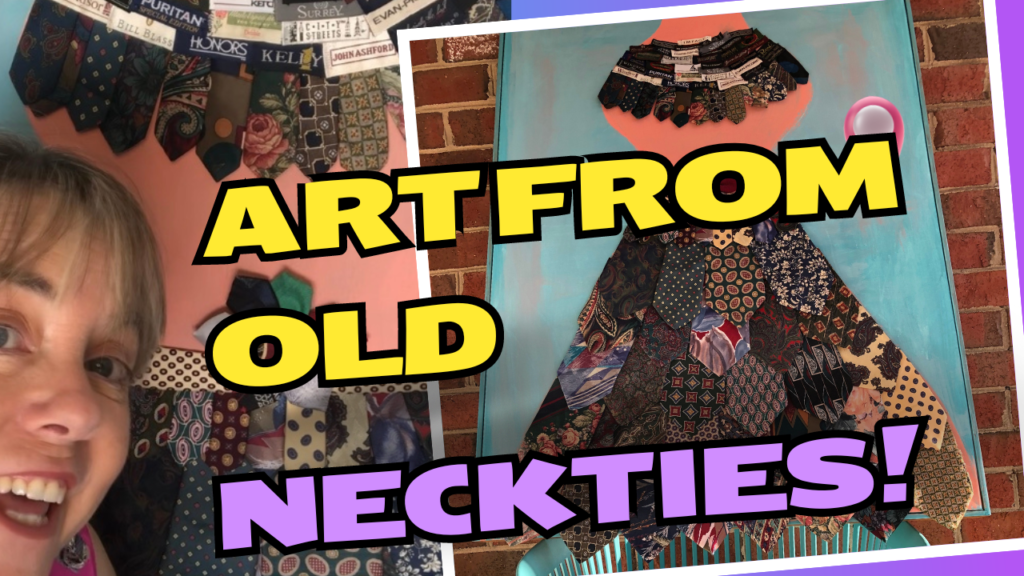
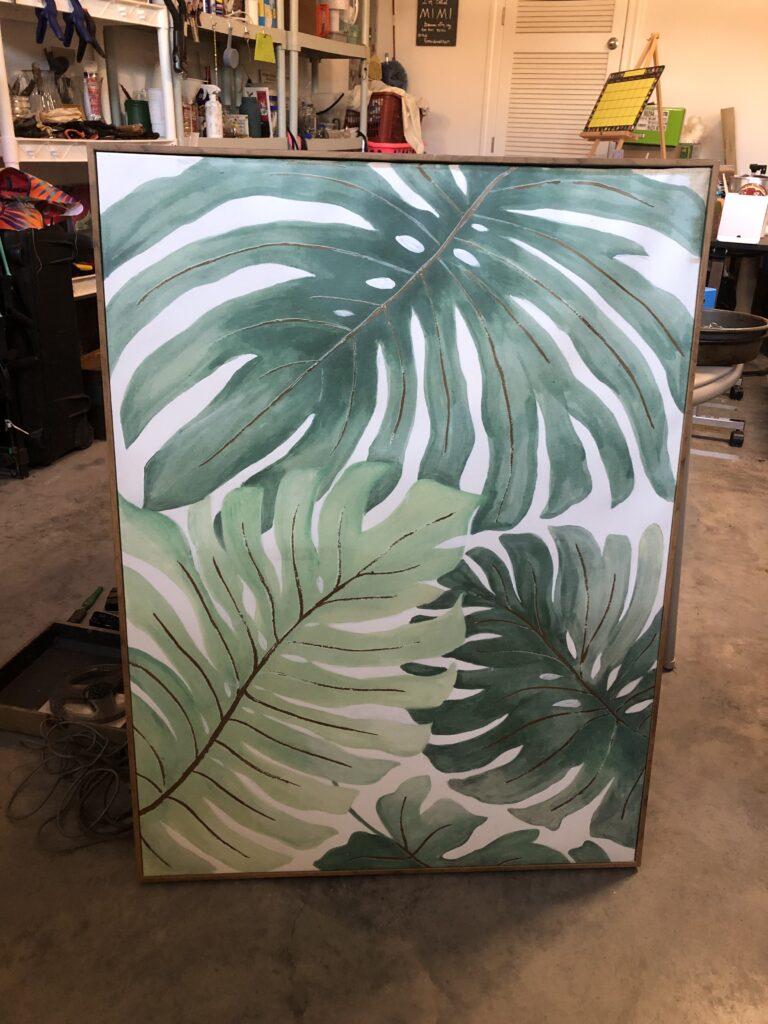
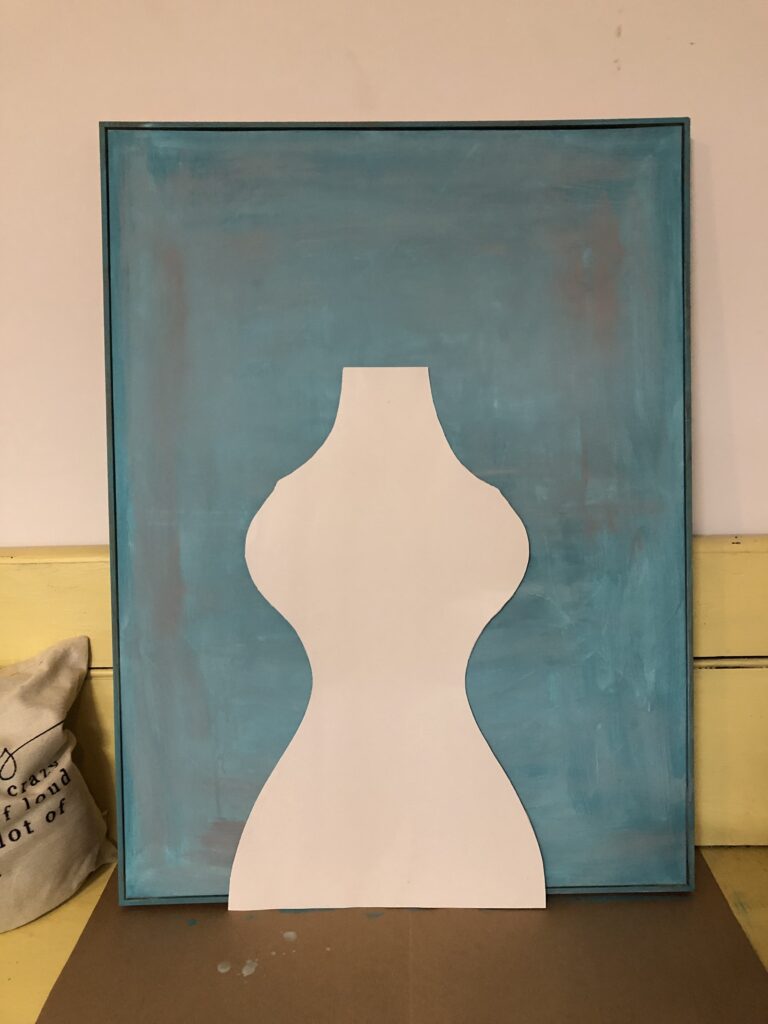
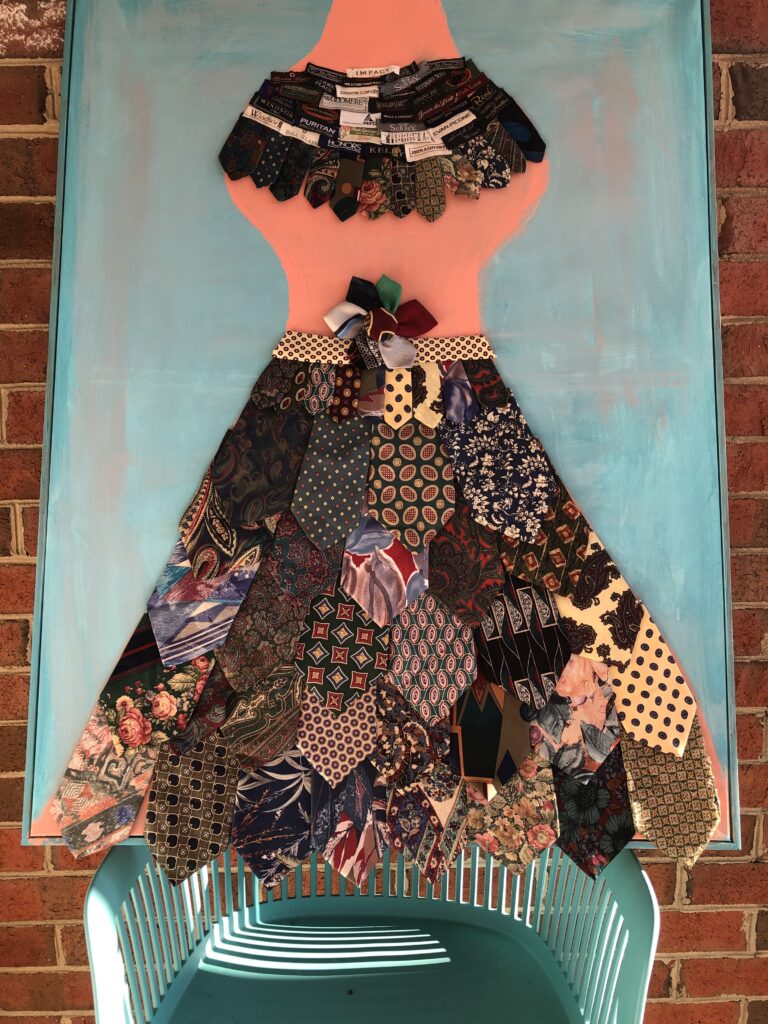
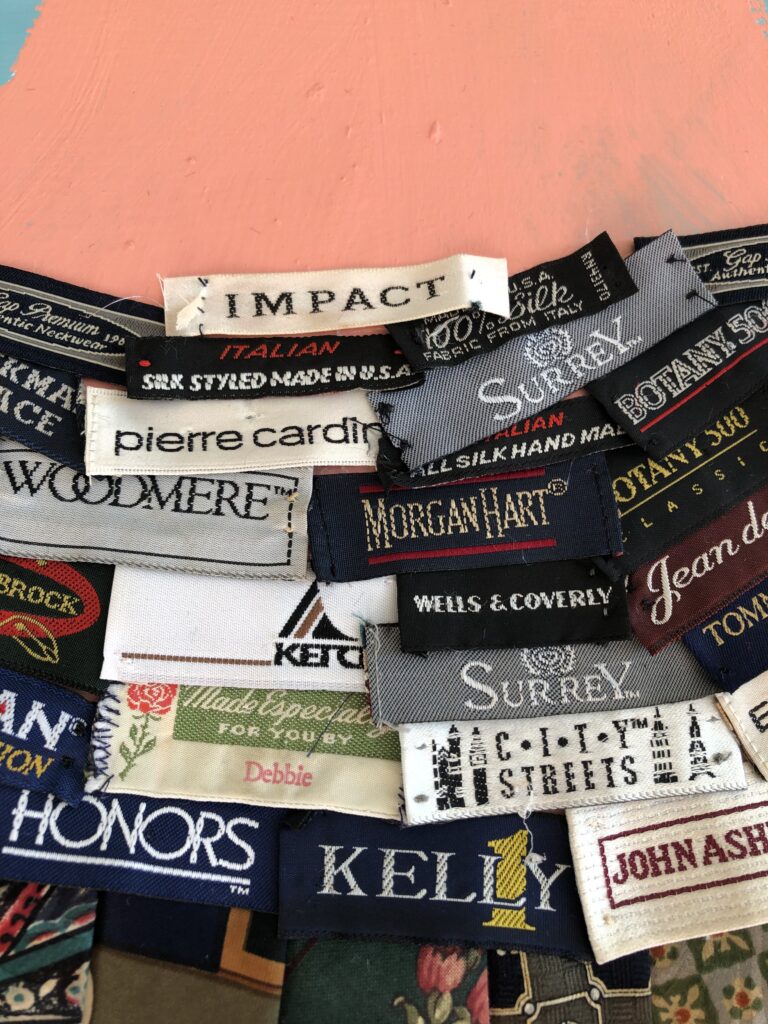
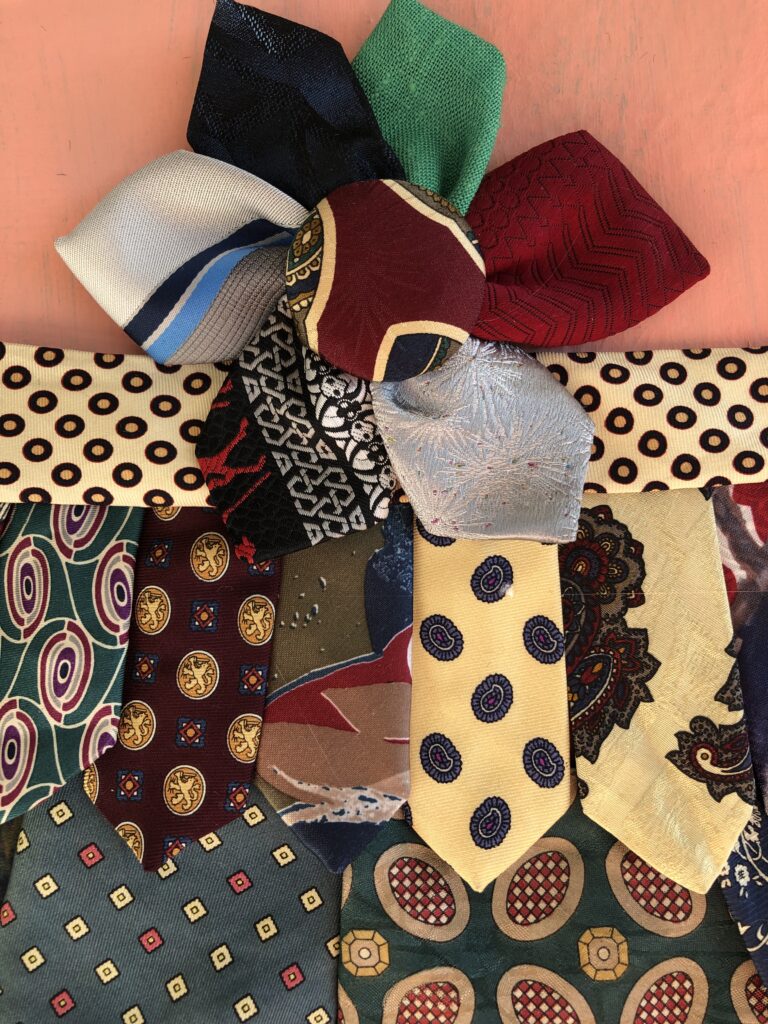
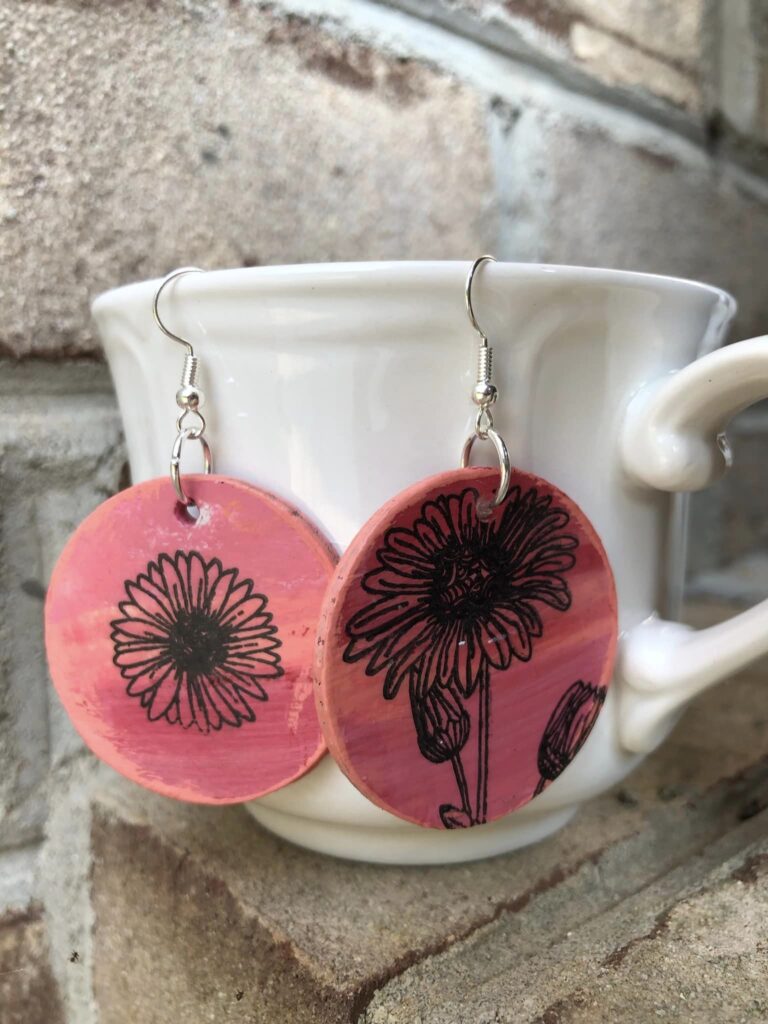
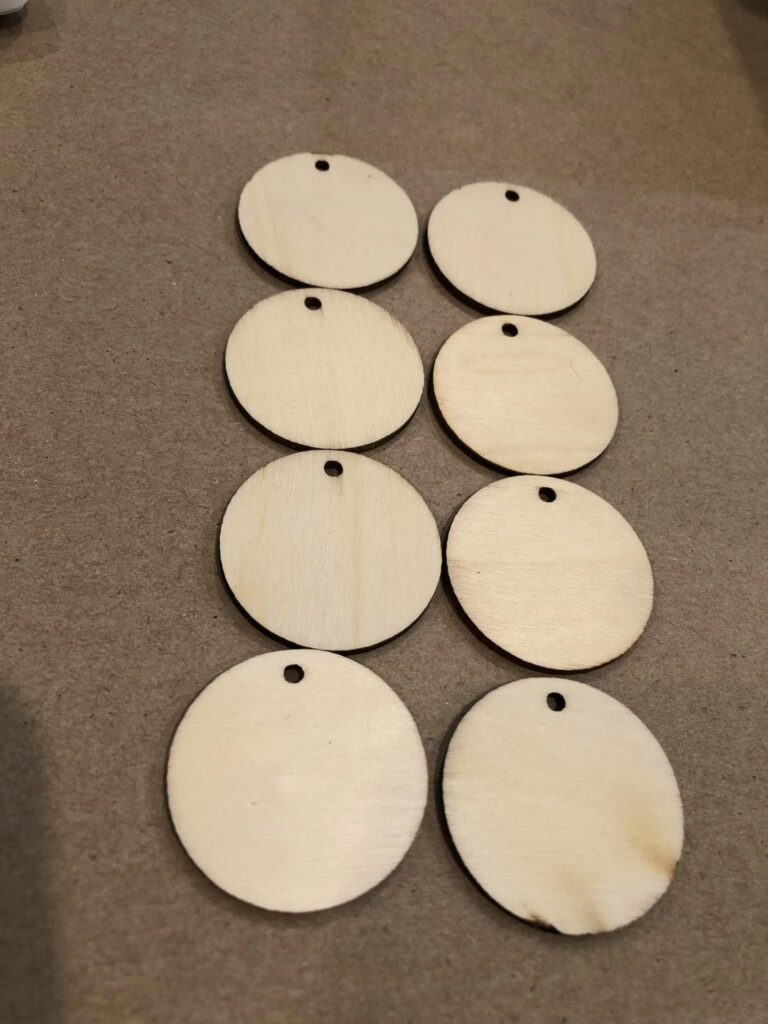
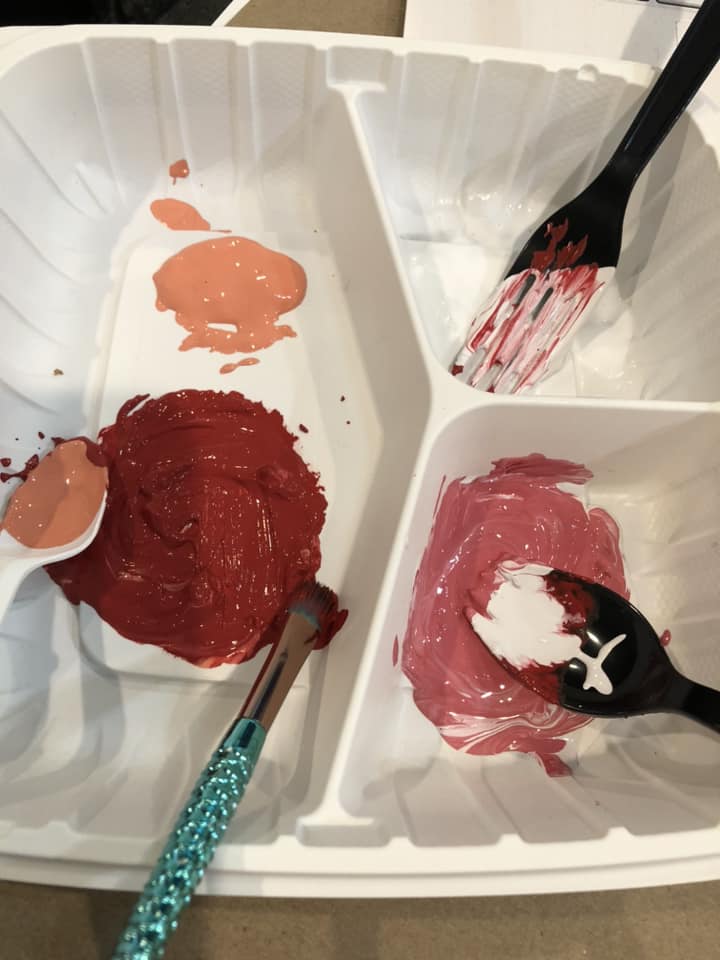
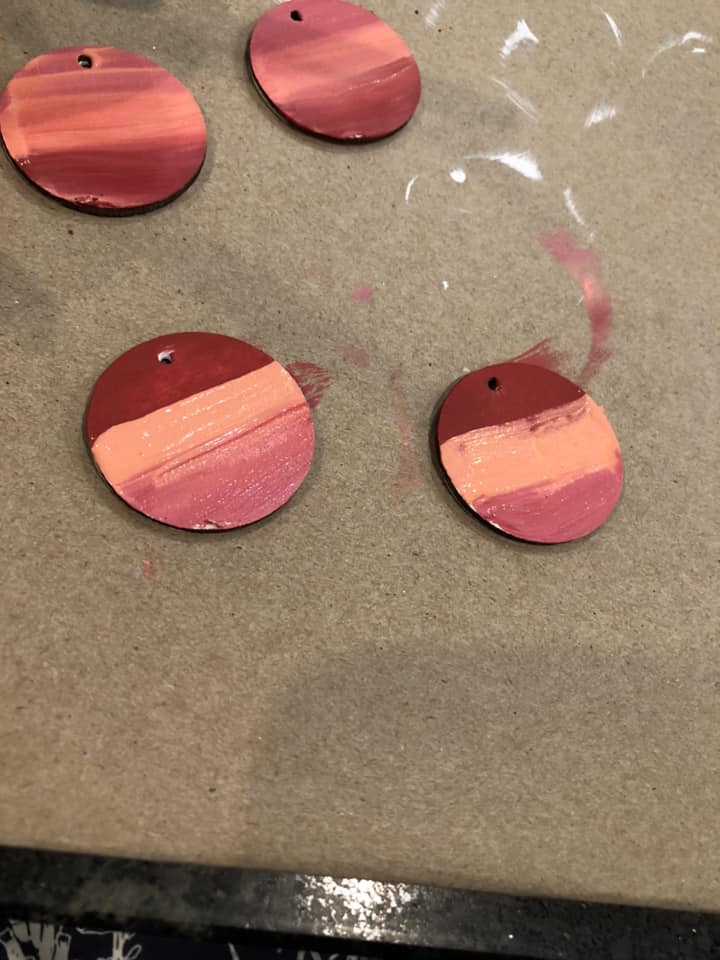
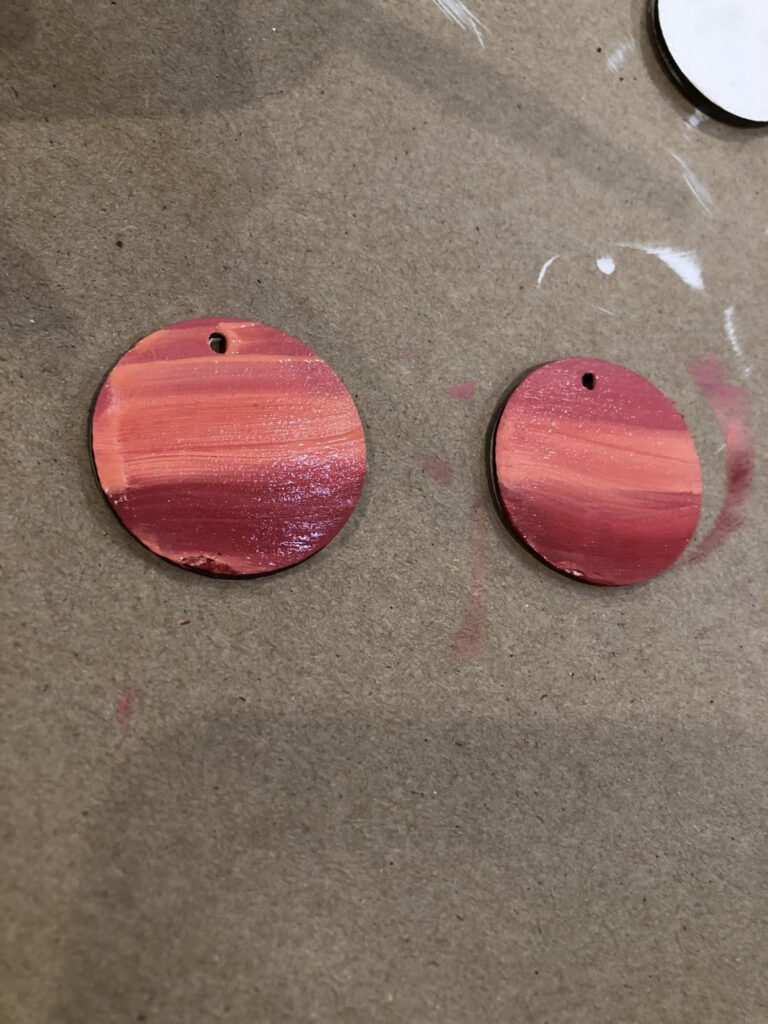
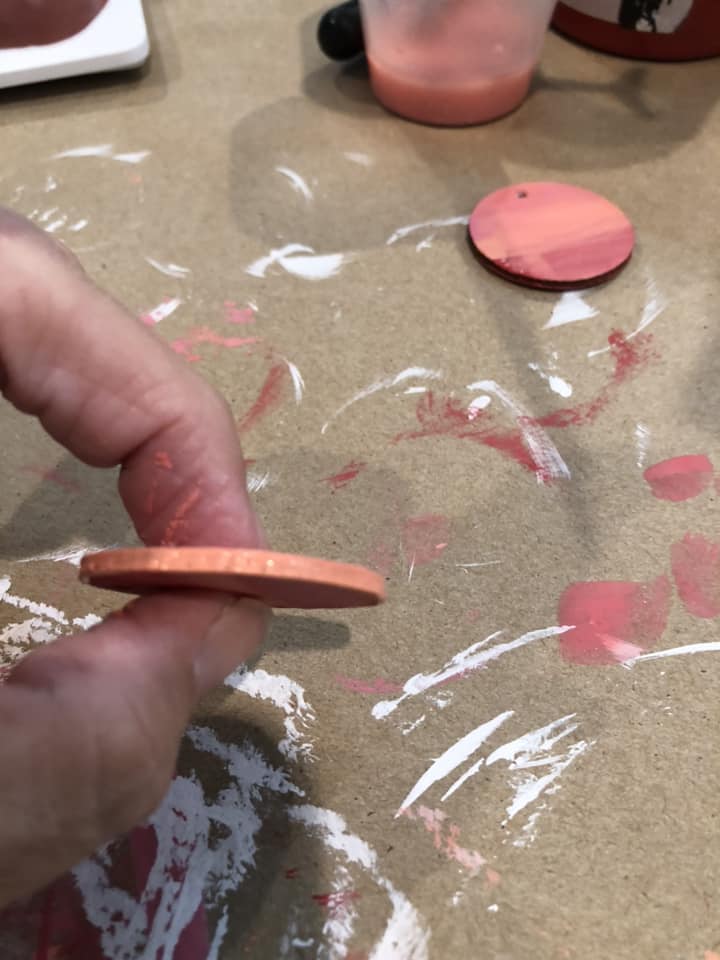
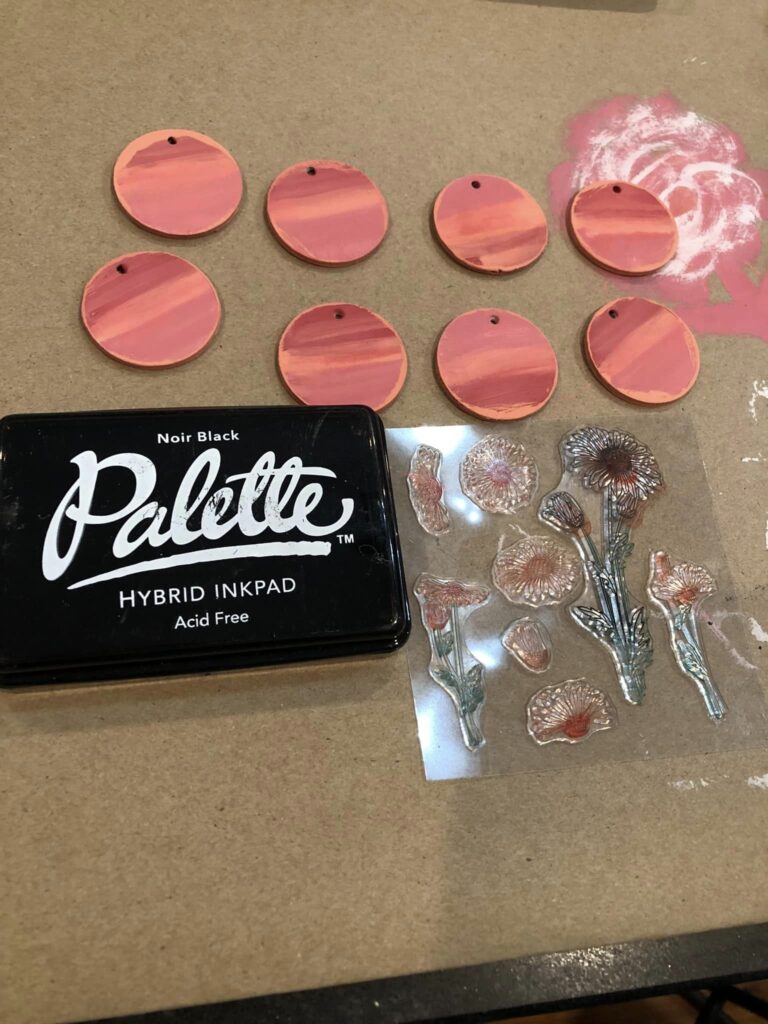
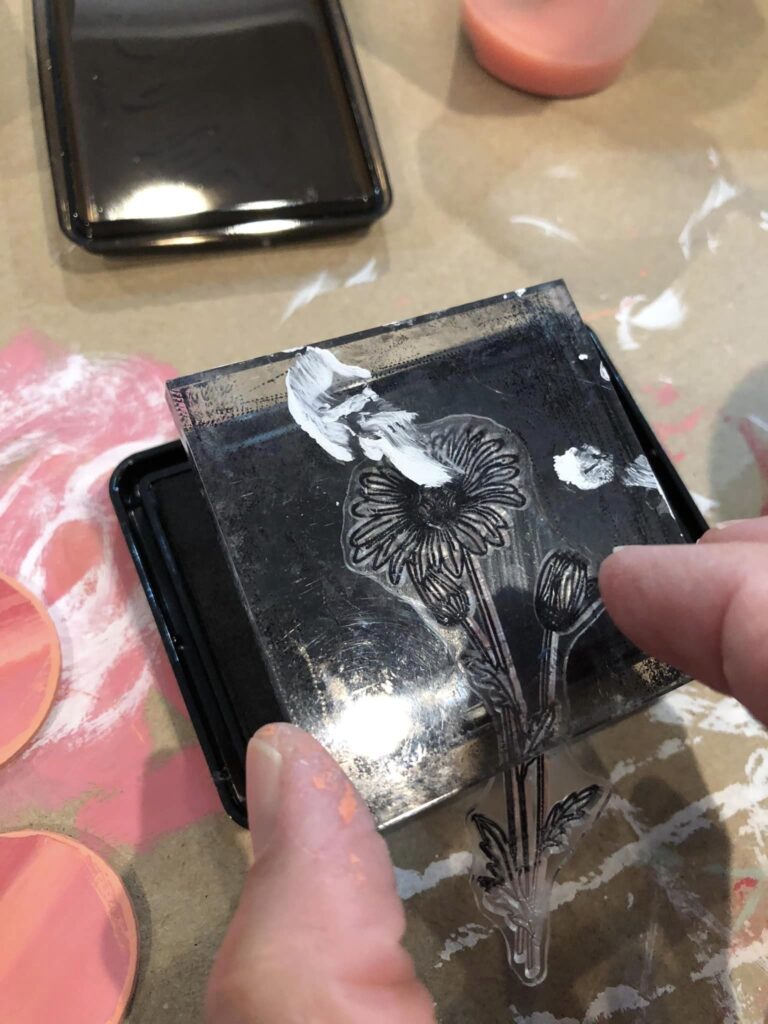
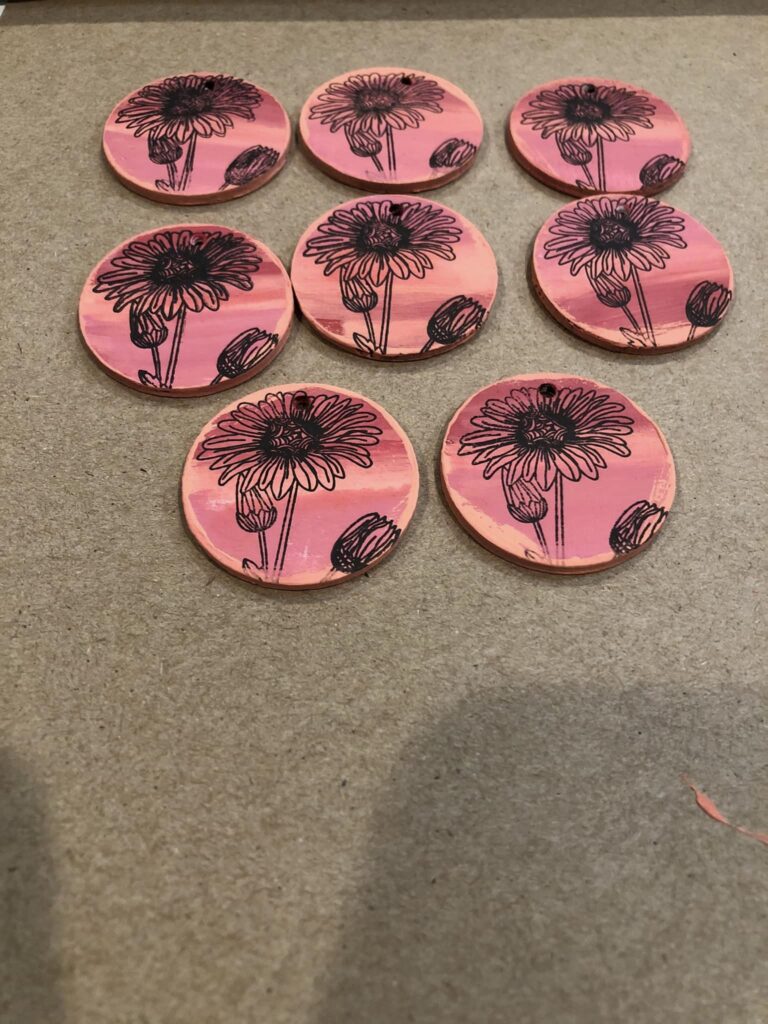
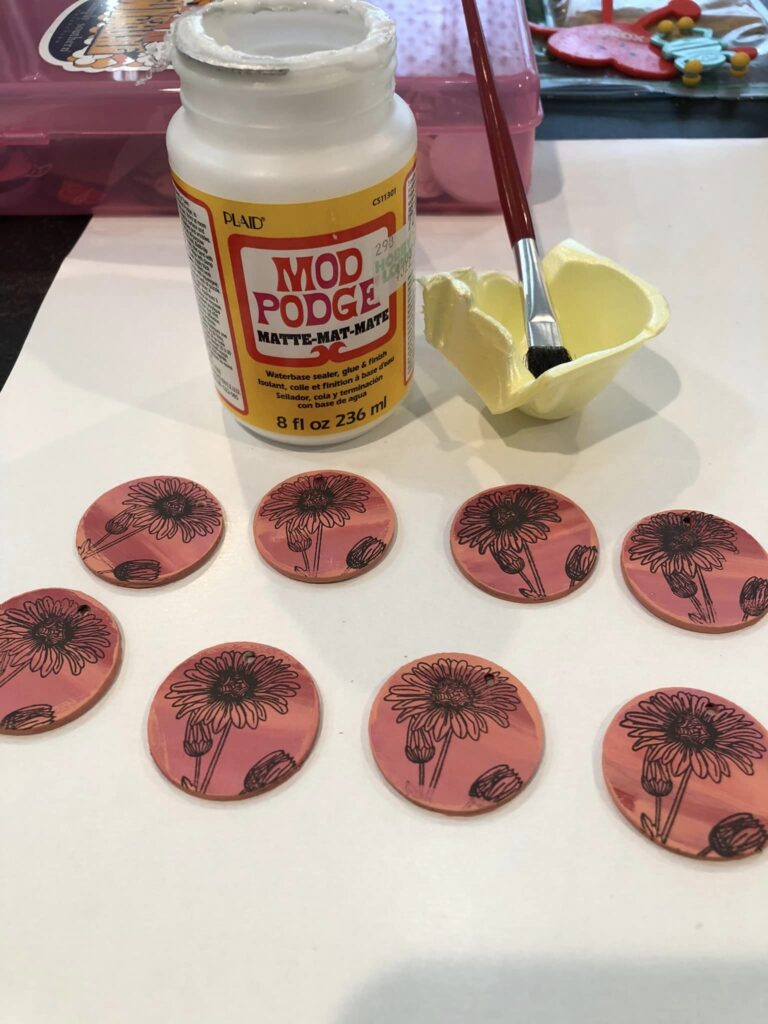
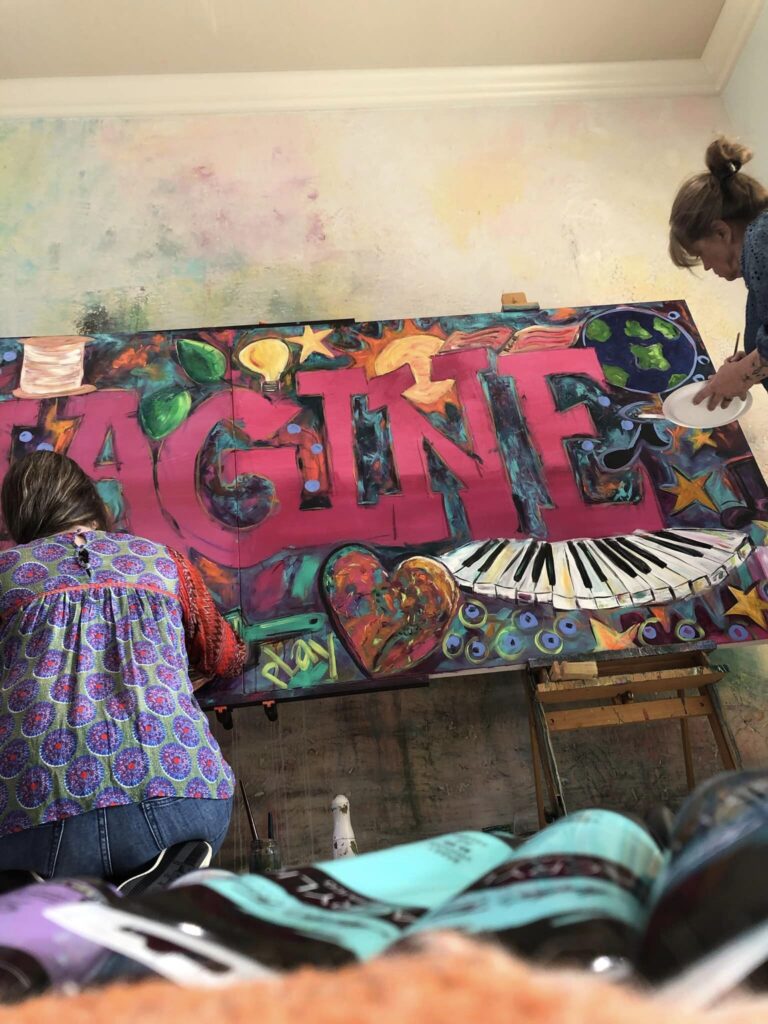
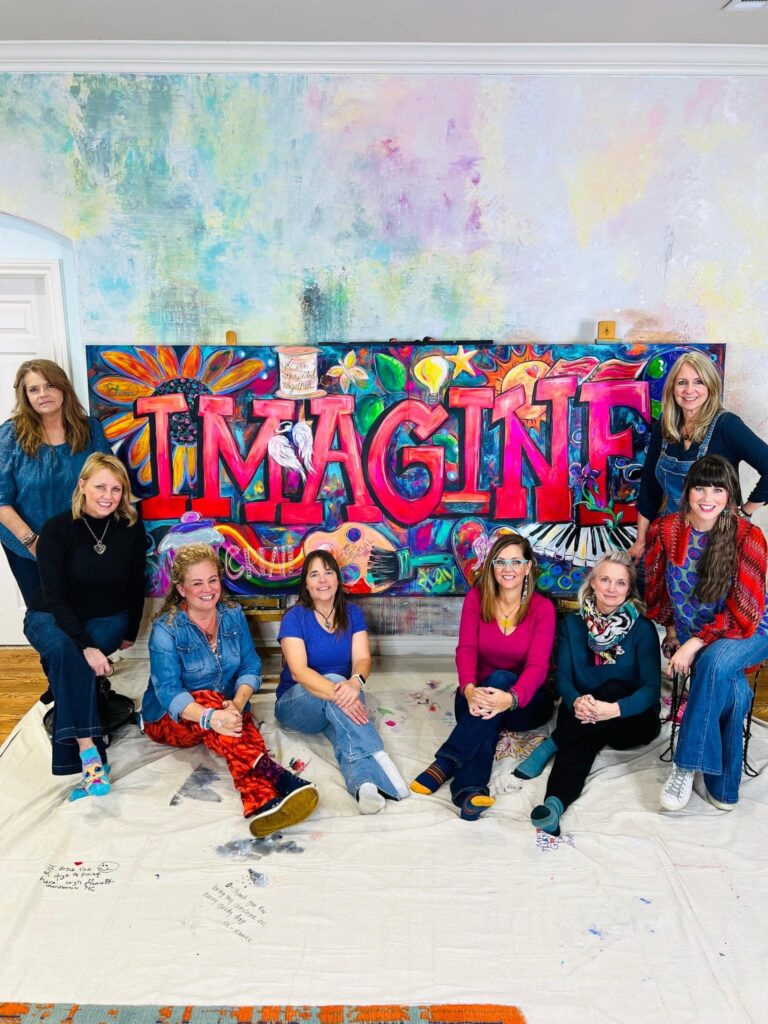
What types of things do I plan to sell in the shop. Handmade items. I have several people who have paintings they want me to sell. Other friend makes handmade bags. My daughter and granddaughter want to make bracelets. I make many different things earrings, flower broches, mixed media and decoupage art.

I also plan to offer some classes in sewing, painting, mixed media, and decoupage.

This is all new to me and I am learning as I go. My true goal is to share the love of being creative with others.

Until next time Have Fun and Stay Funky!

How to upcycle old neckties into art

I am still working through a large stash of men’s neckties that I was given by a fellow crafter. She used to weave chair bottoms with the ties. I have recently rejoined The Turquoise Iris’s Creative Connection https://www.theturquoiseiris.com/ and made this piece for the month of April’s Challenge. The Challenge was to use fabric in your project.

I started with a large canvas that I found on the side of the road.

I have had it for sometime and it needed some cleaning. After it was cleaned I added a base coat of a cheap white chalk paint. When that was dry I added several coats of different blue DIY paint. I have a metal hanging dress form and I used it to make a pattern. I put that pattern on a piece of poster paper and cut it out. I then placed it where I wanted it and traced it with a piece of chalk. I painted the dress form on the canvas with a different color of DIY paint https://diypaint.co/.

When all that was done it was time to start cutting up ties. I used 31 ties. I cut the larger end off at about 7 inches and the shorter end about 3 inches. I also cut off the tags. I think the tags are cool in their self.

After everything was cut out I started placing things where I wanted them. The larger pieces made up the bottom of the dress. The smaller pieces went around the top. I added the tags to the neck line. One of the tie name was Impact! What a great name for the piece! I also added a long strait piece of tie for a belt and a flower made out of old ties. I will show you later how to make the tie. When I had stuff laid out I began gluing it all down with hot glue. After all that you have a finished piece. You can watch it all here https://www.youtube.com/watch?v=oW7cHqwNXoQ&t=46s.

Thank you and Have Fun and Stay Funky!

How to paint earrings with DIY Paint

I have become obsessed with making earrings lately. I have been taking care of my now 85 year old father so I have been doing more small inside stuff. I love DIY Paint and how it blends well and is easy to use. You can buy some from a DIY Paint retailer near you https://diypaint.co/. I had some of these wood blanks that would make really cute earrings. I got them on amazon. These are 1.5 inch wood rounds. You can use any kind of wood blanks.

I started out by painting each blank front and back with Vintage Linen. I let them dry.

After they have dried I took Carnival Red, Cowgirl Coral, and Vintage Linen and put them on a plate.

I took some of the Carnival Red and mixed in some Vintage Linen to make a pink color. So I have three colors to work with.

For all three colors you will have a separate paint brush, a cup of water, and a neutral brush. Each blank gets a line of all three colors.

Then you take your neutral brush with a dab of water and brush it across the three lines pulling them into each other.

Do this front and back for each one. Then you will paint the outside edge of the blank to give it a more finished look. Use any of the three colors.

When they have all dried we are ready to add some stamps. I have all kinds of stamps so I picked something that would fit on the blank. I used a different stamp for each side. I pressed the stamp into the ink after each stamp.

After they have dried front and back I then add about three coats of Mod Podge.

A top coat will brighten up the paint and protect it. Once all have dried I add the jump rings and earring hooks. You now have a very unique pair of earrings. I have a YouTube Video showing this process and you can watch it here https://www.youtube.com/watch?v=h1hjkfSwriw&ab_channel=FunkyFindsandDesigns.

Have fun and stay Funky!

How to sell Junk at the flea market

I am lucky to have several flea markets close to me. Both are open year around. One is the only one around that is open on Tuesdays. You can check it out here https://www.farmersmarket-fleamarketnc.com/. The other is open on Saturdays and Sundays. If you are interested in setting up at one I would plan to go one of the sale days and just check it out. You can talk to vendors and get a feel for how it is to sell there and who to see about getting a table.

The two markets I sell at you get there early and if the spot is not marked reserved you can set up there. One I have to bring my own tables and it is only $7. This is an uncovered spot. The other is also uncovered with a big table and lots of room in front of it for more tables and it is only $10. Management at both comes around and collects your money-later on in the morning. Make sure that you have about $100 in change you will need it. I like to have a variety of things that will appeal to many different people. I have never sold out of stuff. But I do normally make a little money. I also enjoy talking to all the people that come by. Speak to everyone. Greet them and say thank you. Don’t keep your head down looking at your phone. I don’t put prices on stuff. If someone is looking at something tell them what you want for it. Flea Market people will ask you what you want for something. Be prepared for them to offer a lower price. Also take lots of bags with you. I have given people with their hands full a bag even if they are not buying anything from me. It pays to be nice.

Give it a try if you want to get rid of some stuff and make some money. You never know until you try it. Until next time Stay Funky!

Freezing at the Flea Market!
Something you might see at the Flea Market.
Something you might see at the flea market!

How to make fabric twine from old ties

I have been given a lot of old ties. The crafter that gave them to me used to weave chairs with them. She could no longer weave with her hands, so she had to give it up. What can you do with old ties? Well lots of things! I decided to make fabric twine with some of them. What is fabric twine? It is using scrap fabric and twisting it into a usable twine. I have been making fabric twine out of scraps for awhile now. Once you get the hang of it, it’s pretty easy. I enjoy doing it on long car rides because it keeps my hands busy. The ties make good twine because they don’t fray like other fabric.

To start you have to take the tie apart.

I start at the wide end and I like to remove the tag to use in another project.

There are some stitches that hold the tie together.

Clip those stitches and work your way up the tie. I remove the inner lining and now you have a good piece of scrap fabric. I cut off both pointed ends of the tie and lay the tie flat.

I will cut an angle off of the wide end to make the end more even with the rest of the tie.

I then cut the tie into 3 strips about an inch or so wide.

Now you have something to start with.

I take 2 strips and knot the end. I twist one two times away and cross it over the other strand pulling it towards you them repeat pulling it tight. You can connect the strands by clipping holes in each strip and pulling them through each other. When I make a ball of tie twine I use about ten ties. It makes about 13 and 1/2 feet of twine. I am posting weekly videos on my Tiktok https://www.tiktok.com/@funkyfindsanddesigns/video/7186982558754901294?is_copy_url=1&is_from_webapp=v1 page showing you what you can make with the twine. I will be posting a video later on how to make the twine to Youtube and will link it here. Until then stay Funky and let’s cut up some ties!

Happy Funky New Year!

Where does the time go? It is true that it moves faster the older you get. I guess I make the same resolutions every year. Eat better, lose weight, exercise more. I hope to do all those things. I also hope to spend some more time with family and friends. Hopefully too I can take another crazy creative road trip! What are resolutions anyway? As defined on google “a firm decision to do or not to do something”. They are very similar to goals “the object of a person’s ambition or effort an aim or desired result”. I plan to keep working hard and hope it pays off. If things don’t work out then try not to be too hard on myself. Till next time stay Funky and Have Fun!

Ready for another road trip!

Life is short take the road trip.

I am not sure why I was feeling the urge to take a road trip. Maybe wanting to experience something new and just get away. Dionne Woods the Turquoise Iris announced she was having a paint party to celebrate the printing of her magazine The Turquoise Iris Journal. You can check it out here https://www.theturquoiseirisjournal.com/. We were going to paint a mural that is going to be donated to a local school. I had been wanting to paint a mural on one of my buildings and I also have a large old bed slat to paint. Good chance to see how it is done. The drive for me is about 1100 miles and I broke it up into two days. The first day I got across the Tennessee Arkansas line and spent the night. I had stopped several time at rest stops and of course Bucee’s.

Tennessee Welcome Center
Bucee’s Crossville Tennessee

The next day I stopped at the Goodwill Outlet in Little Rock Arkansas. This is the biggest Goodwill Outlet I have ever seen.

Goodwill Outlet in Little Rock Arkansas

I made it to my hotel in Norman Oklahoma about 4:30pm in plenty of time to go to dinner with the group from the paint party.

Oklahoma Welcome Center
Dinner the night before.

The next day I had time before the paint party to visit the Goodwill Outlet in Oklahoma City and my first Del Taco. After Del Taco I headed to Dionne’s house. I was the first to arrive. I got to see her studio and lots of the work she has done. I also got to see the large canvas we were going to paint.

Myself and Dionne

The canvas was painted with a base coat of bright pink.

The canvas prepped and ready

When the others got there Melanie quickly sketched out the design. I can’t believe how fast she did it.

Melanie sketching out the mural

When she was done we all started painting. I was so cool watching the canvas come to life. We all felt very connected and it was very inspiring.

We are threaded together

Working on the mural

I would do it again and may get the chance one day.

It’s done! Pictured from left to right Melanie, Michelle, Angie, Myself, Laura, Sheila, Dionne, Leilani.

Life is short so take the road trip. Stop and take the time to see what is out there. Until next time. Stay Funky and have Fun!

How to Paint on Old Pair of Shoe with DIY Paint

I have several old pairs of Bob Shoes by Skechers and they are faded but still have some life left in them. I decided that I would update a pair of them with paint. I started out by painting a base coat with the 2 in 1 paint by DIY https://jamirayvintage.com/collections/cottage-color-by-diy-jrv.

After that coat had dried I added a coat of the Bohemian Blue. I let that dry and I dry brushed a coat of a lighter blue like Old 57. When you dry brush you put very little paint on your brush and add it over the other paint. It gives it a worn look. When that was dry I used a black acrylic paint to draw the outline of sunflowers on the shoes. I then filled in the flowers with Fire Starter, Carnival Red, Cherry Picked, Cowgirl Coral, and Liquid Sunshine. You can find DIY here https://diypaint.co/collections/diy-paint or find a retailer near you. After it all dried I added several coats of Minwax Polycrylic to help to protect the paint. Now you have a fun and funky pair of shoes to wear with your favorite outfit.

You can watch my YouTube video here https://www.youtube.com/watch?v=JBPmJ9w8NtQ&t=5s Have fun and stay Funky till next time.

How to have a Fun Funky Day Visiting Lexington North Carolina

I think that Funky Finds is not only things but can be people, places, and food too. I saw a post on Craigslist where someone was giving away old ties-a lot of them. I replied with my phone number and she called me not long after that. She told me she used to weave with the ties, but can’t anymore. She told me I could have as many as I wanted. I was already planning to be in Lexington taking some of my items to sell at a new consignment shop.https://www.facebook.com/profile.php?id=100084259401011 So we packed up and headed that way.

When I got to the tie house I found someone very much like me. Someone who loved to create. We had a great conversation of our many crafty creations.

The outside of the barn at the tie house.
Chair that she weaved using ties.

I loaded the van full of ties and we were on our way. After leaving my items at the new consignment shop we headed to lunch. I like trying new places and ones that are not chains. We found a really cool place called Goose and the Monkey Brewhouse. https://www.facebook.com/gooseandthemonkeybrewhouse. The food and the beer were great. I recommend it.

Cheers!

After that we visited downtown Lexington NC where you can find many great stores to visit and also look for all the painted pigs. Lexington is famous for Barbecue. Every year there is a big festival. If you visit close enough you might get to see the huge sandcastle that is built, What a work of art.

Meeting some new people and going to new places are some of the ways to have a Fun and Funky Day. Don’t be afraid to try new things. Stay Funky and Have Fun Today!

How to turn your old trophies into Christmas ornaments

If you are like me you ended up with lots of old trophies when your children left home. What can you do with them? You can do lots of things just don’t toss them out. Here in North Carolina we have 2 creative reuse centers. One in Greensboro https://reconsideredgoods.org/ and one in Durham https://scrapexchange.org/. They will take your trophies. If you want to turn them into ornaments I will show you how.

Things that you will need for this project are paint, hot glue, eye hooks, small pieces of fabric, felt or leather and something to hang it like twine, ribbon, or string. First you need to take the trophies apart. If you start turning the bottom most of the time the screw that is holding it all together will loosen. Take the top part of the trophy and paint it.

When it is dried you are ready to turn go. Take your hot glue and add some to the top where you want to put the hook.

Add your hook and I like to take a small piece of felt or leather to place over the glue and to help secure it to the back.

Once it has dried you can add your ribbon and you are done!

You can watch my You Tube video for more details https://www.youtube.com/watch?v=WnfSBwJOBdE.

Some of the items I like to use on this project are glue sticks https://amzn.to/3JvkUnV, eye hooks https://amzn.to/3XUI3Vh, and jute twine https://amzn.to/3HMDua8.

Have fun and let me know if you make one.